Our Blog

Subscribe to our blog
Search
Acrylic sign manufacturers use a straightforward yet skilful process to create bespoke and eye-catching acrylic business signs for a range of commercial applications. Understanding the step-by-step sign manufacturing process will help you know what to expect when ordering an acrylic sign for your company.
Designing Your Sign
The process begins with a designer creating the layout for your sign using graphic design software or CAD. This initial design phase is crucial to capturing the look and feel you want for your acrylic sign. The designer will work with you to include important elements like your company logo, contact information, imagery, and any decorative aspects that represent your brand.
Once a layout is approved, the artwork is optimised for the sign manufacturing process. This means converting aspects like text and logos into vector files. Vector image formats allow the laser cutter to recognise outlines for precision cutting, with the added benefit of being scalable to any size without losing definition and clarity around the edges. The designer will also ensure the design is properly sized and scaled. Having artwork set up correctly helps avoid issues when it comes to the physical production of the sign.
Prepping The Acrylic
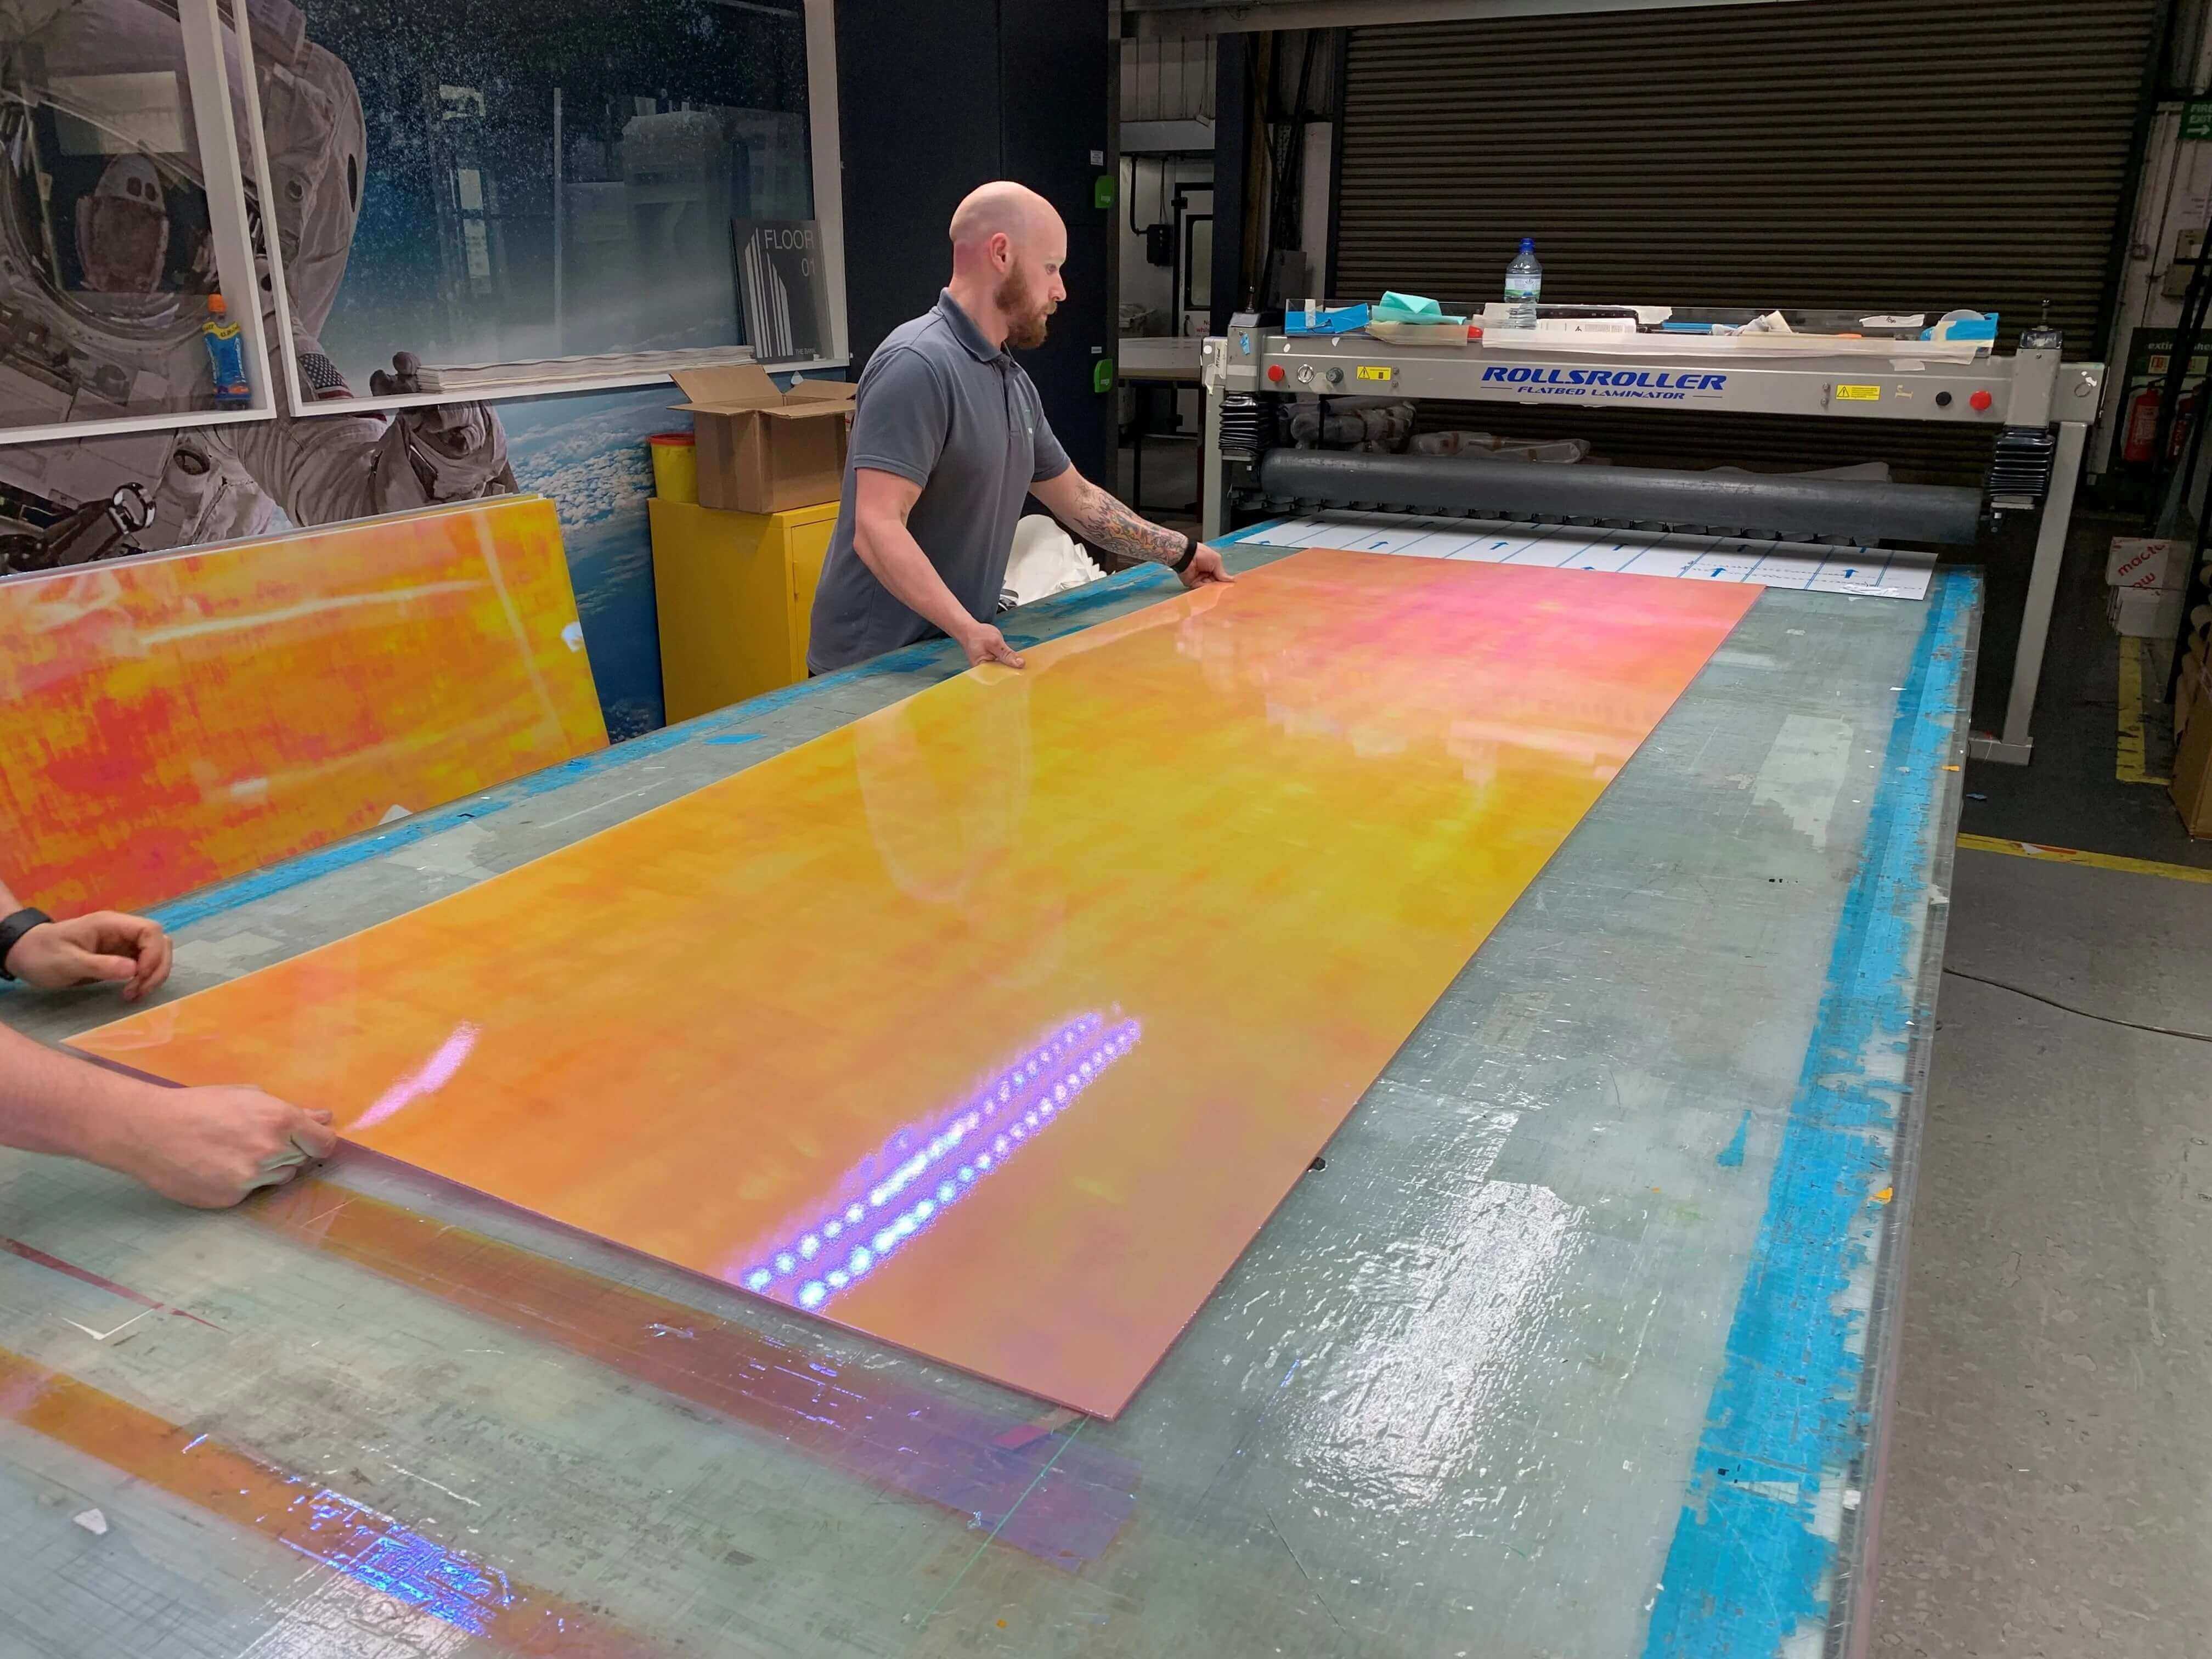
High-quality acrylic sheets are selected as the material based on the size and thickness requirements of your sign. Before laser cutting begins, the acrylic goes through a preparation process that involves removing any existing protective coverings or films from the surface. Prepping creates an optimal canvas that allows the laser to interact directly with the acrylic.
Precision Laser Cutting
The magic truly happens when your artwork file is imported into the laser cutter. This computer-controlled (CNC) machine uses a high-powered CO2 laser beam to cut through the acrylic with absolute precision. As the laser follows the vector cut lines of your design file, it vaporises a tiny width of acrylic to effectively cut out shapes, letters, and logos.
Laser cutting enables clean, smooth edges regardless of how intricate the design elements are. This creates an ultra-crisp and professional appearance for the text and graphics of your acrylic business sign. The accuracy of laser cutting also means various types of acrylics can be used, including coloured, mirrored, clear, and frosted.
Finishing Details
Once laser cutting is complete, a few finishing touches may be added to fully complete your signage. Polish can be applied to the edges to achieve bevelled or rounded corners, and protective laminate coatings might also be added to shield the acrylic from UV damage and scratching. This helps enhance the longevity of your sign.
If there are any decorative techniques specified in the design, like engraved textures or painted backdrops, these can also be incorporated at the finishing stage. The appropriate mounting hardware is then installed on the backside of the sign as well to make installation quick and easy.
What Next?
To learn more about the benefits of partnering with an expert signage provider for your business, please download our Benefits Of Using An End-To-End Signage Company guide, available for free today, or get in touch with our team.


